Compound bows aren’t always ready to shoot out of the box. It’s up to you to ensure everything’s properly aligned for your first hunt. You may have accessories and attachments to add to your new bow, too.
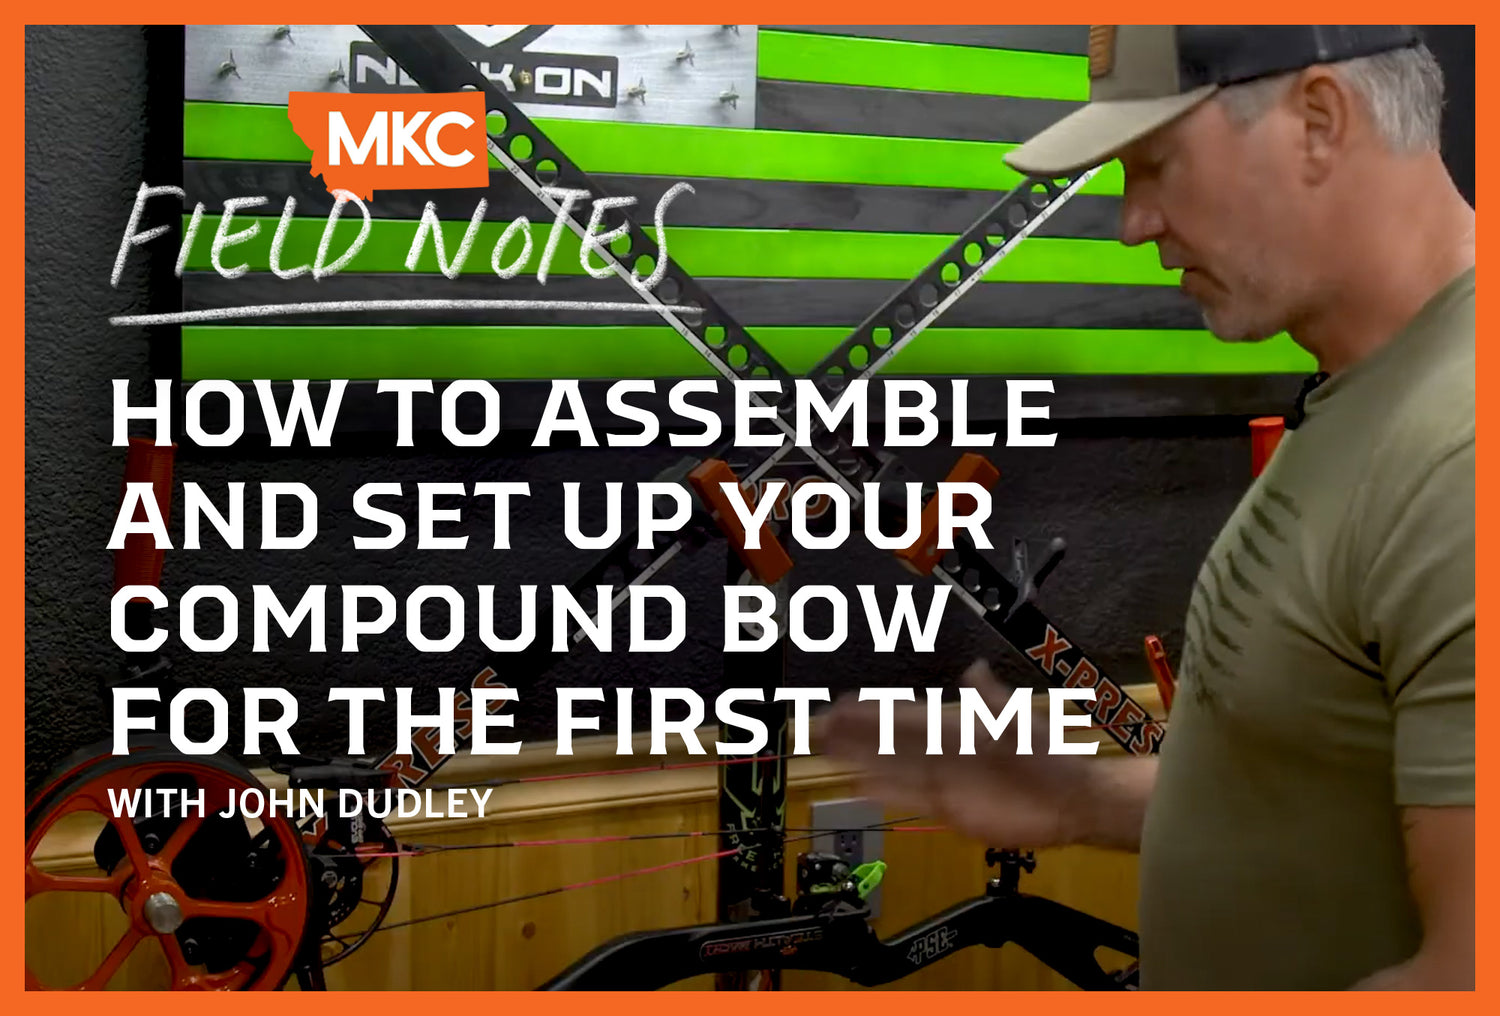
A compound bow is a robust piece of equipment, but getting everything dialed in is a surprisingly delicate process. My name is John Dudley, and I’m an Olympic archer and expert bowhunter. Let me teach you how to tune a bow for the first time so you can become a master just in time for bow season.

Assess String and Cable Quality
Before you assemble your new bow, assess the quality and strength of the parts it came with. Now is the best time to upgrade or swap parts you don’t like. Most bows come with decent factory parts, but the strings and cables are often worth upgrading.
Factory strings will get you far, but a premium aftermarket string is more stable, has less stretch and creep, and holds its tune longer. High-end bows may not need a string upgrade at all, so inspect the quality of those pieces before you begin assembly.
If you decide to replace your string, note how and where the cams sit before you remove them. Mark the cam position with a pencil or marker, using the limb as a reference point. That way, you can put the cams in the same starting position when you thread the new strings.
Don’t attempt to replace all the strings and cables at once. Doing it one at a time makes the process much easier.
Set Draw Length and Cam Modules
Every bow has a range of draw length settings. You can change the draw length by adjusting the cams. Figure out and set your ideal draw length before proceeding to the next steps.
Your best resource for this process is the owner’s manual that came with your bow. Follow the instructions to adjust the draw length modules as needed. Different brands mark cams differently, so the important part is ensuring both are set to the same measurement. The manual will explain how to tune a bow from that manufacturer.
To verify that the cams match, draw the bow back smoothly and watch how the cams roll over. If the top cam hits early, add a twist or two to the cable to get them in sync. Only make adjustments to the cable stop side, not the yoked side.
If both cams hit the draw stop simultaneously, you’ve officially timed (or synced) your cams.
Mount Accessories
Your compound bow isn’t ready to use yet. It still needs an arrow rest, a sight, and a peep sight to function. Many archers also add a stabilizer and a quiver.
Your arrow rest should go on first. If your bow came with a cheap, flimsy arrow rest, I recommend upgrading to something stronger. A rock-solid rest with no wiggle or play is best. I prefer fall-away rests for hunting, but a good containment-style rest works well, too.
If your bow came with silencing accessories, like shrink tubing or moleskin, add it before you finalize the position of your rest. Any extra material you add can change how your arrow sits on the rest, so you may need to readjust it afterward.
Next, install your sights and stabilizers. Don’t worry about sighting them in or positioning them perfectly yet — just secure them on the bow. I recommend checking that your sight is level before attaching it, but fine-tuning the axes will come later when you paper and walk back tune.
Set Nocking Points and D-Loop
With your accessories in place, nock an arrow on the string and check the level. The arrow should be level or slightly high at around 90 degrees to the string.
I use a tied nocking point and a D-loop. They’re both lightweight and reliable and seem to dampen vibration better. However, a brass nock set or metal D-loop can work just as well. Don’t be afraid to try a few different things to get a feel for what works best for you.
Adjust your nocking point(s) until your arrow sits square, then add and center your D-loop. Take care that the D-loop doesn’t pull the arrow up or down. If you need to brush up on how to tie a D-loop, check out my step-by-step video.
Install and Adjust Peep Sight
The peep sight is your rear sight. It’s designed to align with your front sight at full draw. If you don’t position it properly, it can impact the way you shoot.
Most good strings come with a marker at the ideal peep position — usually a piece of string. Split the string at this point and add your peep sight. If you’ve done everything right, this should give you a perfectly split draw.
After adding your peep sight, draw the bow a few times and let everything settle. You may need to add or remove a few twists to align everything at full draw.
Once everything’s in sync, tie your peep in using dental floss. This keeps your peep in position, preventing it from turning or pulling out on you. Check out my video to learn how to do it.

Final Thoughts on How to Tune a Bow
With your peep installed, your brand-new compound bow is ready to shoot. You’re not finished yet, though — your next step is learning how to tune a bow with paper and walk back tuning, and you can read our previous blog to learn how.
Taking the time to set up your bow before you use it is critical. Even if your bow comes fully assembled from a pro shop, you should check these elements and dial everything in.
Now get out there and start flinging some arrows!
with John Dudley, Decorated Professional Archer and Founder of Nock On Archery


